Everything You Need To Know About Self-Adhesive Ceiling Hooks!
Self-adhesive ceiling hooks are a smart and practical solution for anyone who wants to hang lamps and decorations without drilling into the ceiling. They are perfect for homes where you want to avoid damage to walls and ceilings while still enjoying quick and easy installation. Whether you want to hang fairy lights, Christmas stars, garlands, or lightweight lamps, self-adhesive ceiling hooks provide a flexible solution that can easily be moved or removed when needed. By choosing the right hook for the correct surface and carefully following the installation instructions, you can achieve a secure and durable mounting solution.
Choose Self-Adhesive Ceiling Hooks Based On The Surface
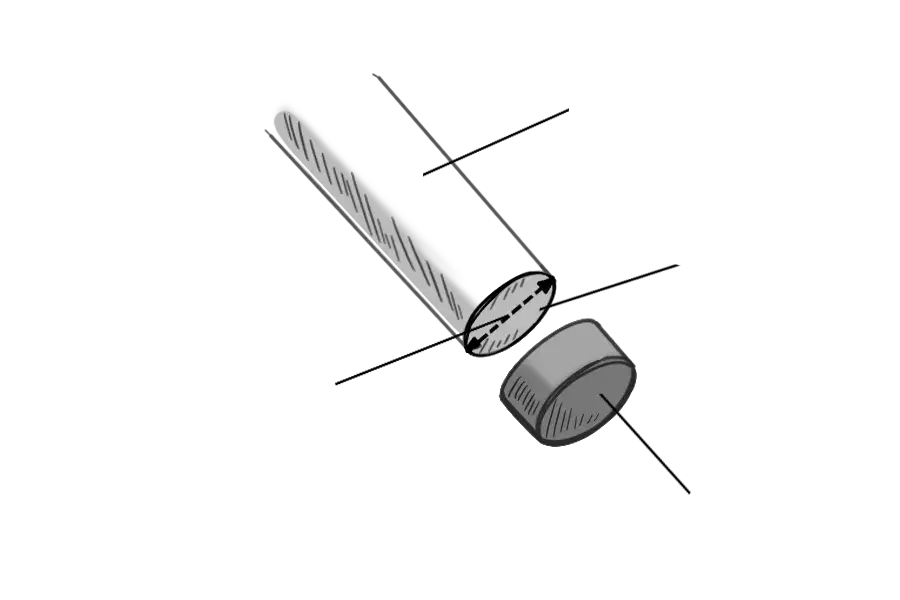
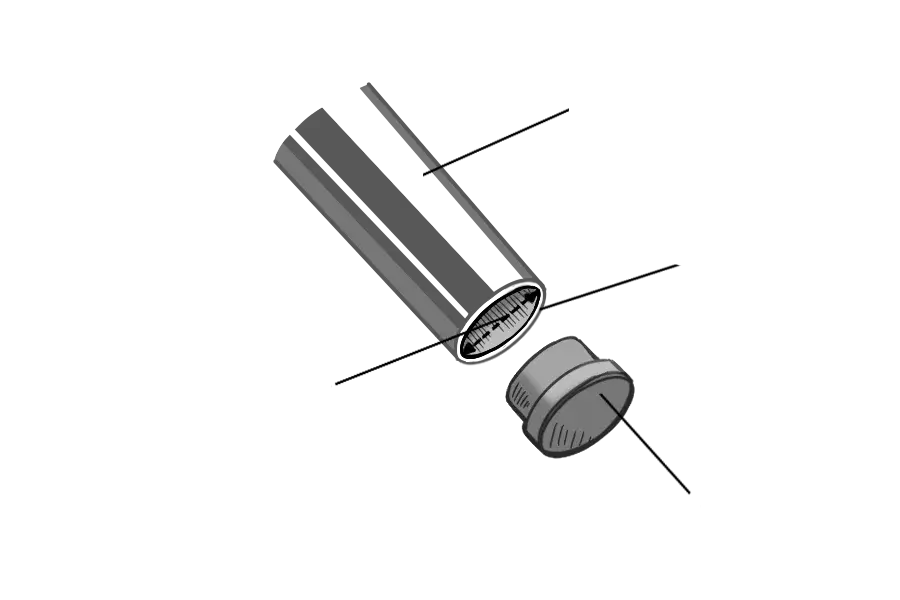
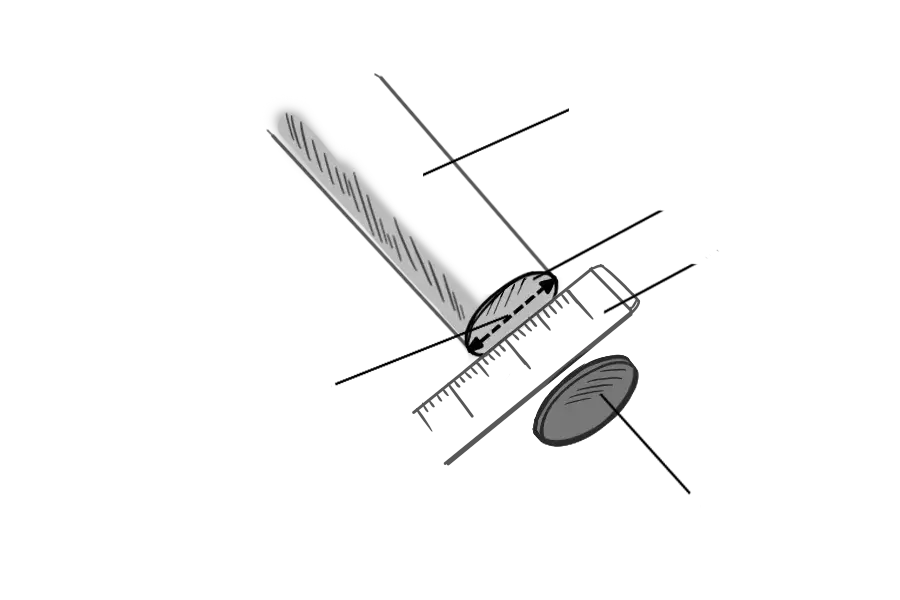
The product Self-Adhesive Ceiling Hook for Concrete is ideal for attaching to concrete, wallpaper, and plaster surfaces.
Different self-adhesive ceiling hooks can support different weight limits depending on both the product itself and the ceiling material/surface. It is impossible to give an exact answer regarding the maximum weight the hook can support. Below are some general recommendations.
Self-Adhesive Ceiling Hook – Ceiling Hook Without Drilling
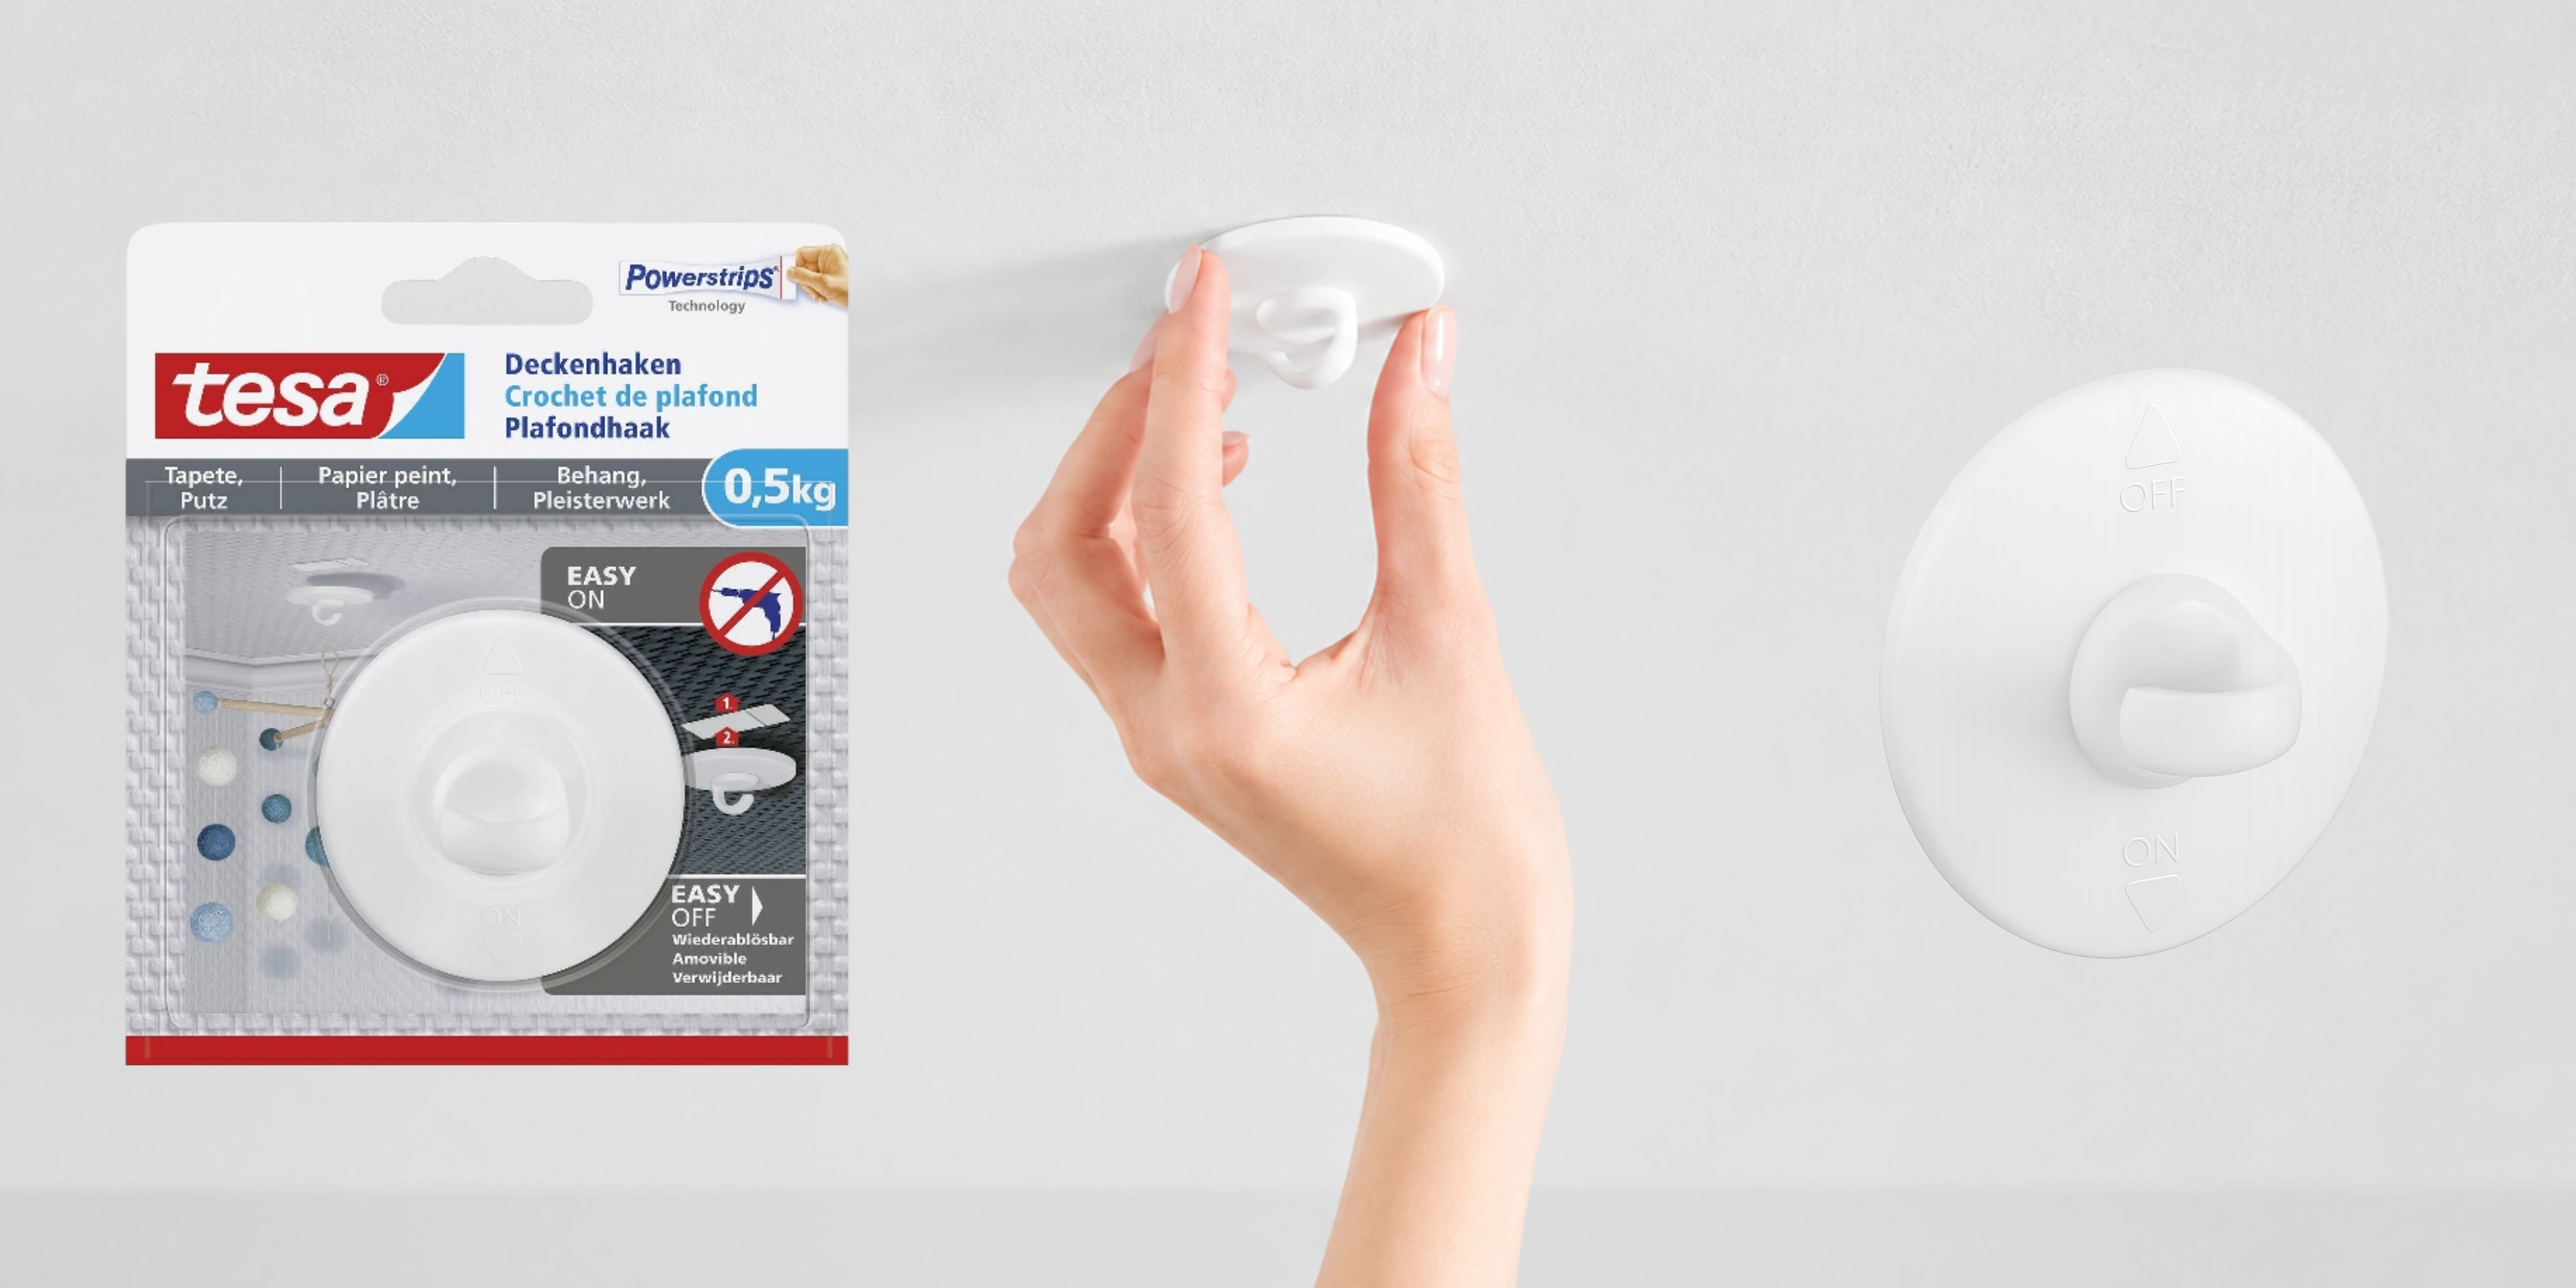
Using the product Self-Adhesive Ceiling Hook, Lamp Hook is an excellent idea if you want a quick and easy installation without drilling holes in the ceiling. This also means you avoid unsightly holes if you decide to move or remove the hook later.
This product is therefore perfect for anyone who enjoys rearranging furniture and decorations and needs to move ceiling lamps or lightweight décor to match a new interior layout. Fairy lights, Christmas stars, and garlands are just a few of the many ways this product can be used.
What Weight Can Self-Adhesive Ceiling Hooks Support?
Self-Adhesive Ceiling Hook, Lamp Hook:
Suitable for lightweight objects up to 0.5 kg.
How To Install Self-Adhesive Lamp Hooks
Instructional images are also included on the back of the product packaging.
- Clean the surface with a damp cloth.
- Remove one of the three included power strips from the sheet and place it in the desired location.
- Press it firmly into place by first placing two fingers at the front of the strip and maintaining pressure for five seconds. Then move your fingers to the back of the strip and repeat the pressure for another five seconds. This step can also be shortened by placing your thumbs along the entire strip so the whole surface is covered at the same time. Maintain pressure for 5 seconds.
- Remove the entire protective film from the strip now attached to the surface.
- The strip is divided into two sections separated by a line. Place the mounting bracket on the larger section of the strip and press firmly while maintaining pressure for five seconds.
- Follow the ON arrow located on the front of the product to slide the hook onto the mounting bracket.
- Rotate the hook in the desired direction and it is now ready to hold your lightweight items.
How To Remove Or Relocate Your Self-Adhesive Ceiling Hook
- Follow the OFF arrow located on the front of the product and slide the hook away from the mounting bracket.
- Hold the mounting bracket and grab the small tab of the power strip. Slowly pull the strip, which will stretch slightly before releasing completely.
- Remove the mounting bracket and your ceiling hook has now been fully removed.
- If you want to place the hook in another location, simply use a new power strip from the included sheet and follow the installation instructions above.
Self-adhesive ceiling hooks are an excellent choice for anyone looking for a simple, convenient, and damage-free hanging solution without drilling. They work on several different surfaces and are ideal for lightweight decorations and lamps. With proper installation and the correct weight load, you can create a flexible and stylish hanging solution in your home without leaving permanent marks on the ceiling. The ability to easily move or remove the hooks also makes them a practical option for anyone who enjoys updating and refreshing their interior décor frequently.