Molly Wall Anchors & Molly Screws | How They Work
Mounting heavier objects on drywall can be difficult without the right type of fastening. With a molly wall anchor or molly screw, you get a secure and stable solution that distributes the load behind the drywall and reduces the risk of damage to the wall.
In this guide, we’ll explain how molly wall anchors work, what load capacities they can handle, how to install them correctly, and how to remove them when needed.
1. What Is a Molly Wall Anchor?
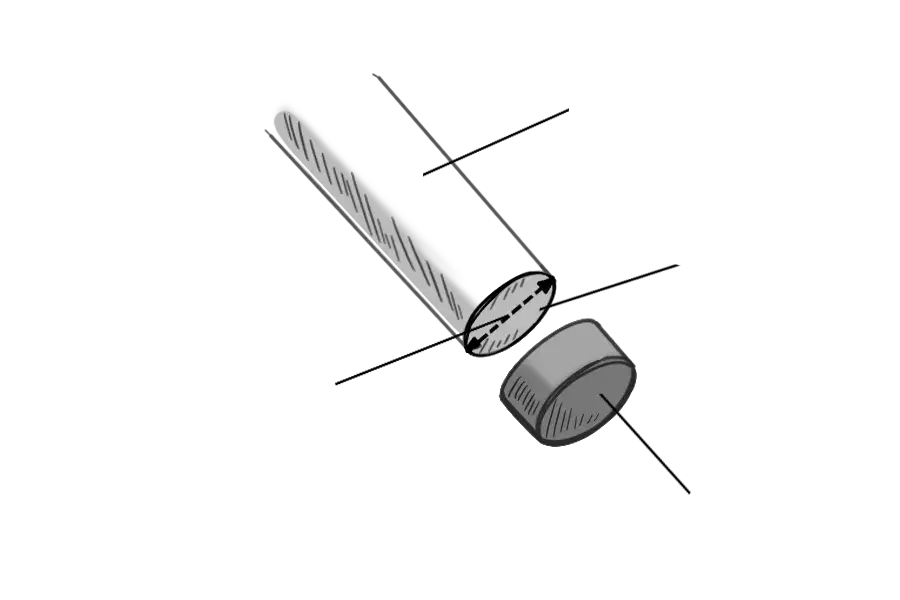
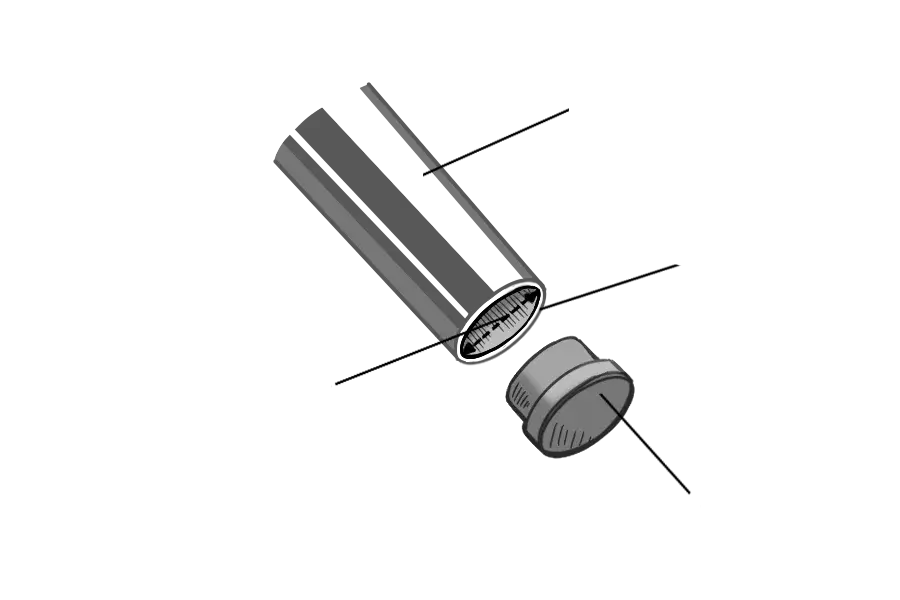
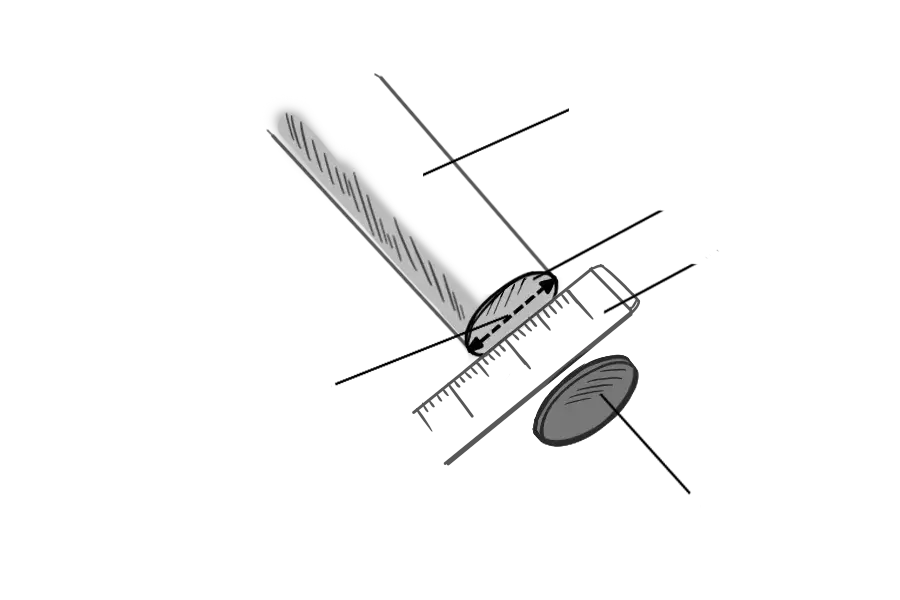
Drywall can be a challenging material for mounting heavier objects without risking damage to the wall. To reduce this risk, you can install a molly wall anchor and then fasten the object to it.
During installation, the metal anchor expands behind the drywall and spreads the load across a larger surface area. This expansion is what increases the weight capacity for the object you want to mount on the drywall.
2. Which Surfaces Can Molly Anchors Be Used In?
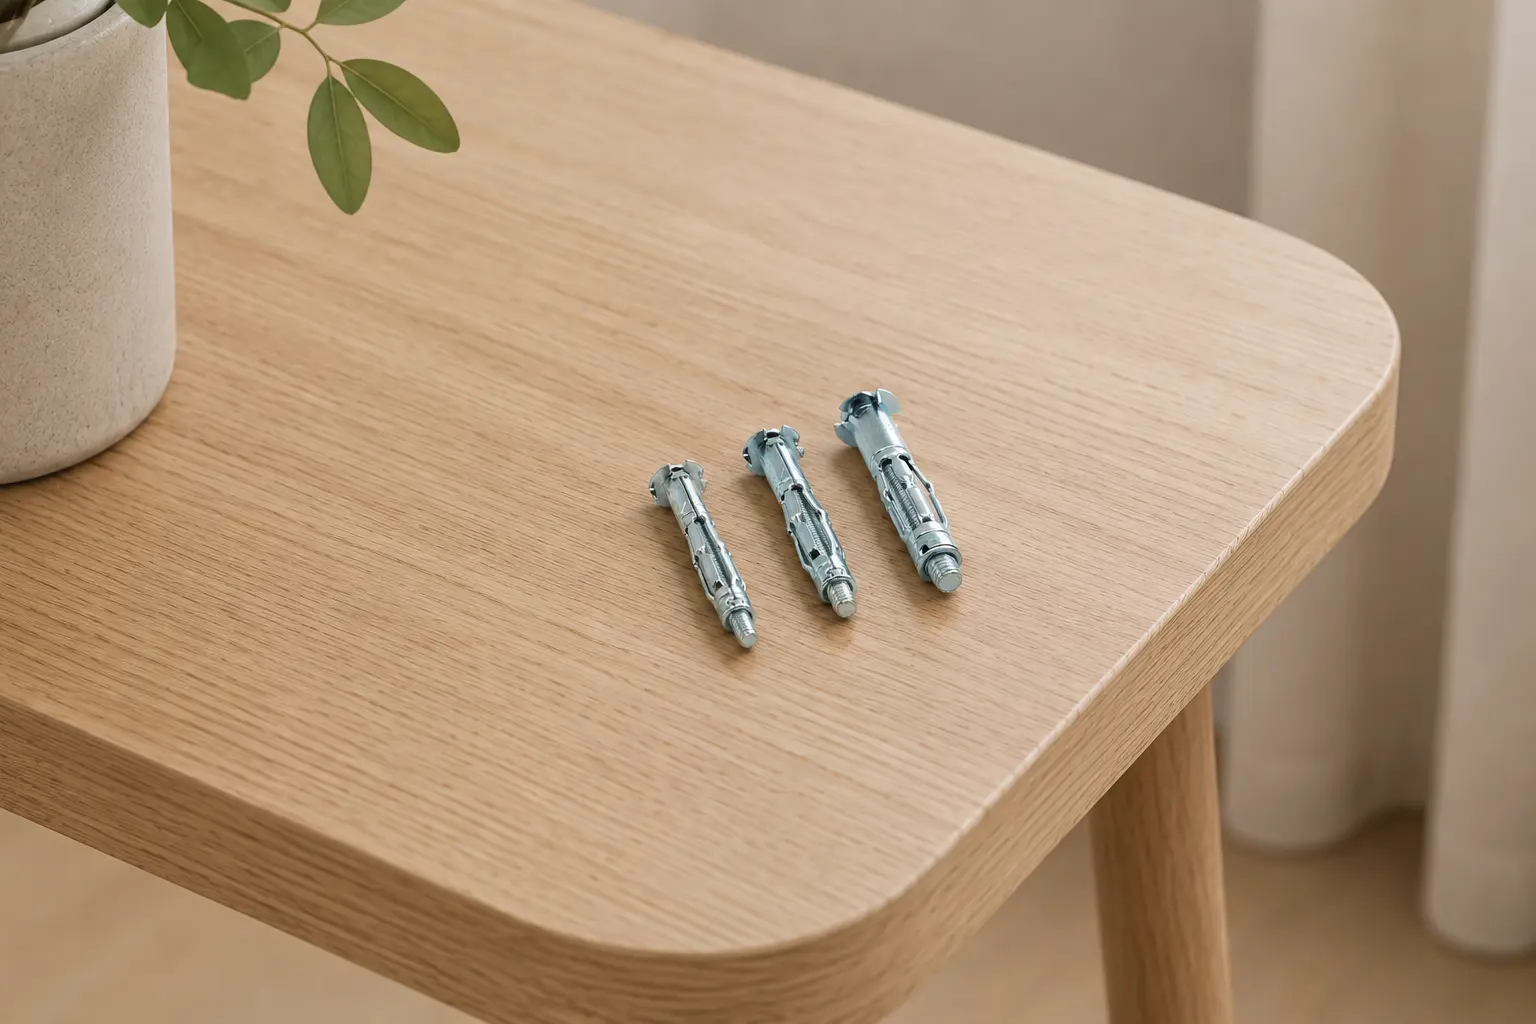
The molly wall anchors offered by Möbeltassen are primarily designed for use in drywall, both on walls and ceilings. Our three different sizes are suitable for double-layer drywall constructions but have different anchoring depths:
- 4 mm screw size: For wall thicknesses 8–16 mm
- 5 mm screw size: For wall thicknesses 8–32 mm
- 6 mm screw size: For wall thicknesses 8–32 mm
3. How Much Weight Can a Molly Wall Anchor Hold?
According to our supplier, our molly wall anchors can support the following loads:
- 4 mm screw size: Up to 15 kg
- 5 mm screw size: Up to 20 kg
- 6 mm screw size: Up to 30 kg
Please note that it is also important to verify how much weight your drywall itself can safely support.
4. Recommended Drill Bit Sizes for Installation
- 4 mm screw size: Use an 8 mm drill bit
- 5 mm screw size: Use a 10 mm drill bit
- 6 mm screw size: Use a 12 mm drill bit
- 8 mm bolt size: Use a 14 mm drill bit
5. How to Install a Molly Wall Anchor
When installing molly wall anchors in drywall, it is recommended to use a setting tool specifically designed for molly anchors.
This is recommended because power drills can cause the entire anchor to rotate, which in the worst case may damage the drywall.
Make Sure You Have:
- A drill with the correct drill bit size (see above)
- A screwdriver or drill driver with the correct bit
- A molly anchor setting tool
Step-by-Step Installation Guide
- Drill the hole in the wall at the desired location.
- Push the anchor into the hole. If necessary, lightly tap it into place using a rubber mallet.
- Follow the instructions for your setting tool to position it correctly for installation.
- Place the tool against the wall and hook it onto the screw. You may need to loosen the screw slightly to attach the tool properly.
- Tighten and expand the anchor by squeezing the handles of the tool. Repeated pressure may be required to secure the anchor properly. Be careful not to overtighten, as this may damage the drywall. Stop once you feel firm resistance and the anchor feels stable.
- Depending on the tool you are using, it may be removed in different ways. Some models have a button or lever, while others simply unhook from the screw.
- Remove the screw and mount the object you want to attach. Using a manual screwdriver for this step is recommended to avoid overtightening, which could damage the anchor expansion. If desired, another screw with the same dimensions and thread type may also be used.
6. How to Remove a Molly Wall Anchor
There are three common methods for removing a molly wall anchor.
Method 1
Make Sure You Have:
- A drill driver with the correct bit (or a Phillips screwdriver)
- A hammer
- Pliers
Instructions:
- Unscrew the screw until it becomes loose.
- Tighten it slightly again so you can grip it properly.
- Use a hammer to tap the screw almost all the way into the wall.
- Grip the screw head with pliers and pull the anchor straight out.
If desired, the remaining hole can be repaired by following the instructions in section 7.
Method 2
- Remove the screw from the anchor using a drill driver or screwdriver.
- Use needle-nose pliers to bend the collar inward on both sides to create a stable grip.
- Grip the collar firmly using pliers and twist until you hear a popping sound and the collar loosens.
- Push the remaining part of the anchor into the wall using a screwdriver. You will likely hear the anchor fall behind the wall once it has been pushed in far enough.
Method 3
- Remove the screw completely from the anchor.
- Use a hammer to push the collar and anchor into the drywall until the sleeve no longer protrudes. This makes repairing the hole easier afterward.
7. Repairing Holes Left by Molly Anchors
Removing a molly wall anchor from drywall will unfortunately leave a hole behind. If you want to cover the hole, follow the steps below.
If the anchor has been removed correctly, the hole should usually be small enough to repair with standard wall filler or spackle.
How to Repair the Hole
- Create as smooth a surface as possible by removing any raised edges left by the anchor. This can be done using a putty knife.
- Apply filler using the putty knife and spread it evenly across the hole. This process may need to be repeated several times.
- Use a damp cloth to wipe the repaired area to reduce the need for sanding once the filler has dried.